
Recording stock
Once your items exist, FCMS keeps a running count of how much of each you have. Every change — buying, using, wasting, counting — is recorded so your stock levels and costs stay accurate. This chapter covers the everyday ways stock moves.
Access
Each operation has its own permission (Batch Purchase, Stock Usage, Spoilage, Inventory, Ending Inventory). You'll only see the ones your role allows.
How stock changes are tracked
Every movement creates an entry in the item's history (its inventory logs):
- Stock in raises the quantity — usually a purchase.
- Stock out lowers it — usage, a sale, spoilage, or a transfer to another branch.
- A count reconciles your records to what's physically there.
You rarely edit numbers directly; instead you record why stock changed, and FCMS updates the totals and the average cost for you.
Stock in — Batch Purchase
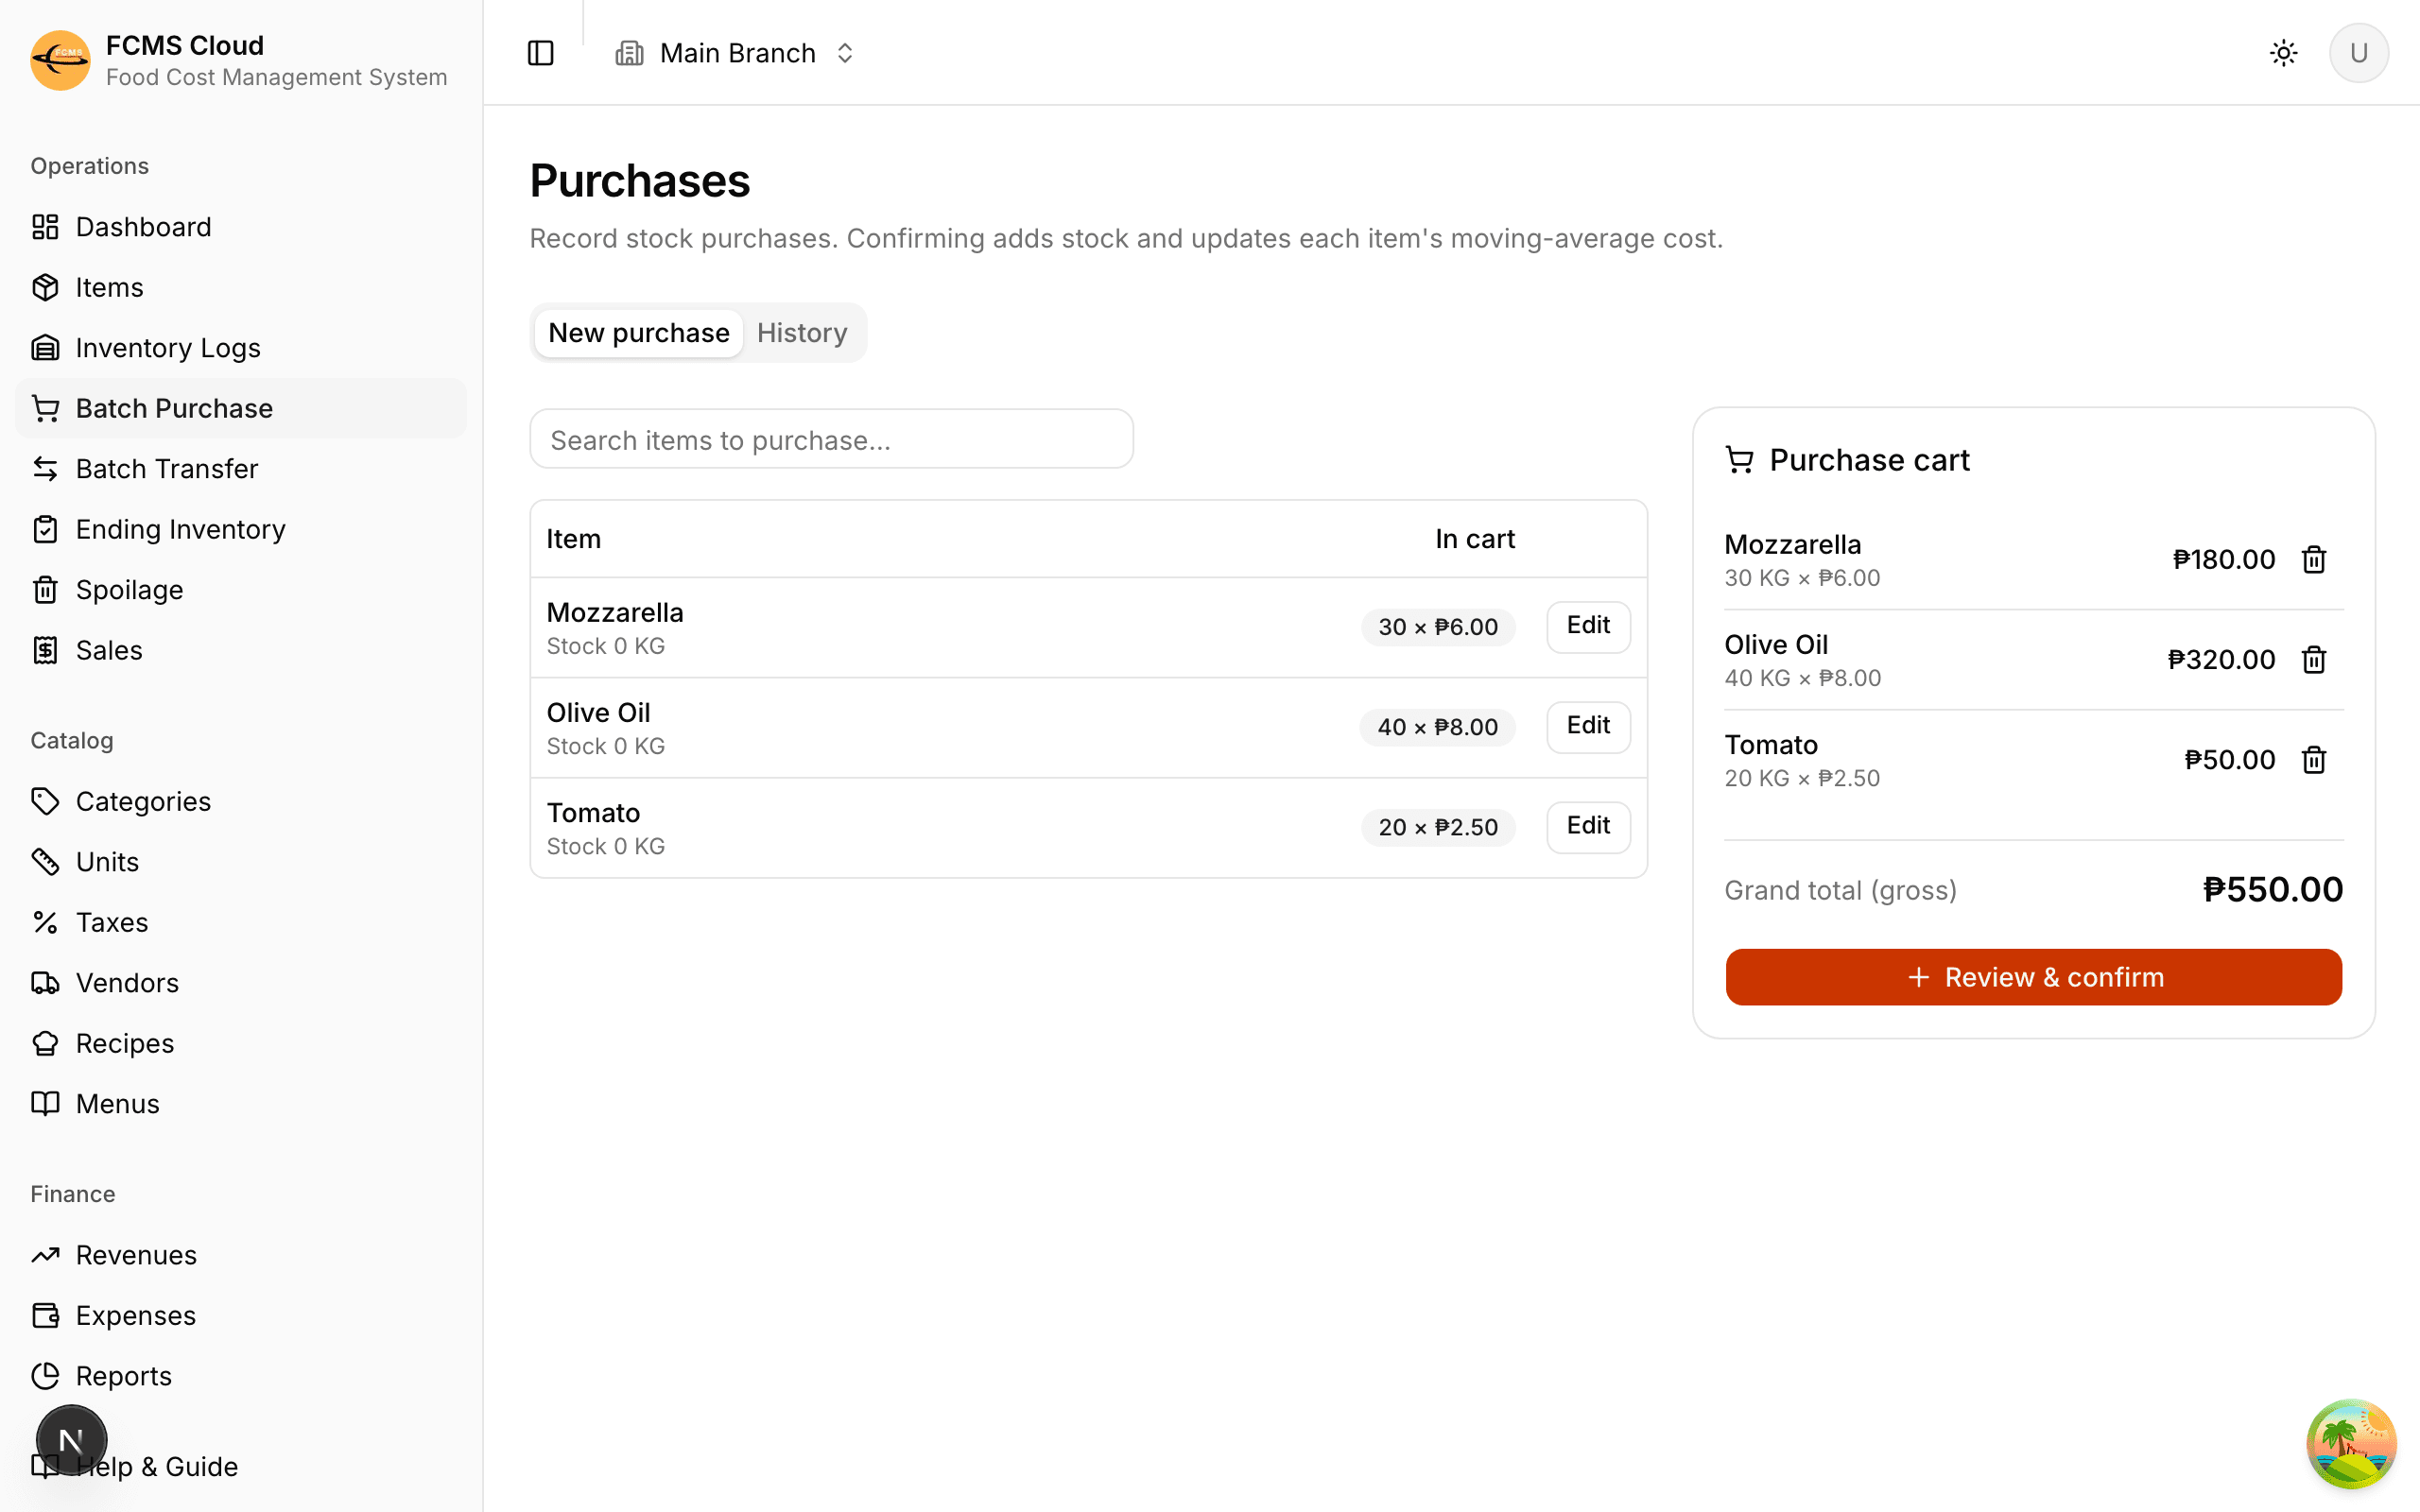
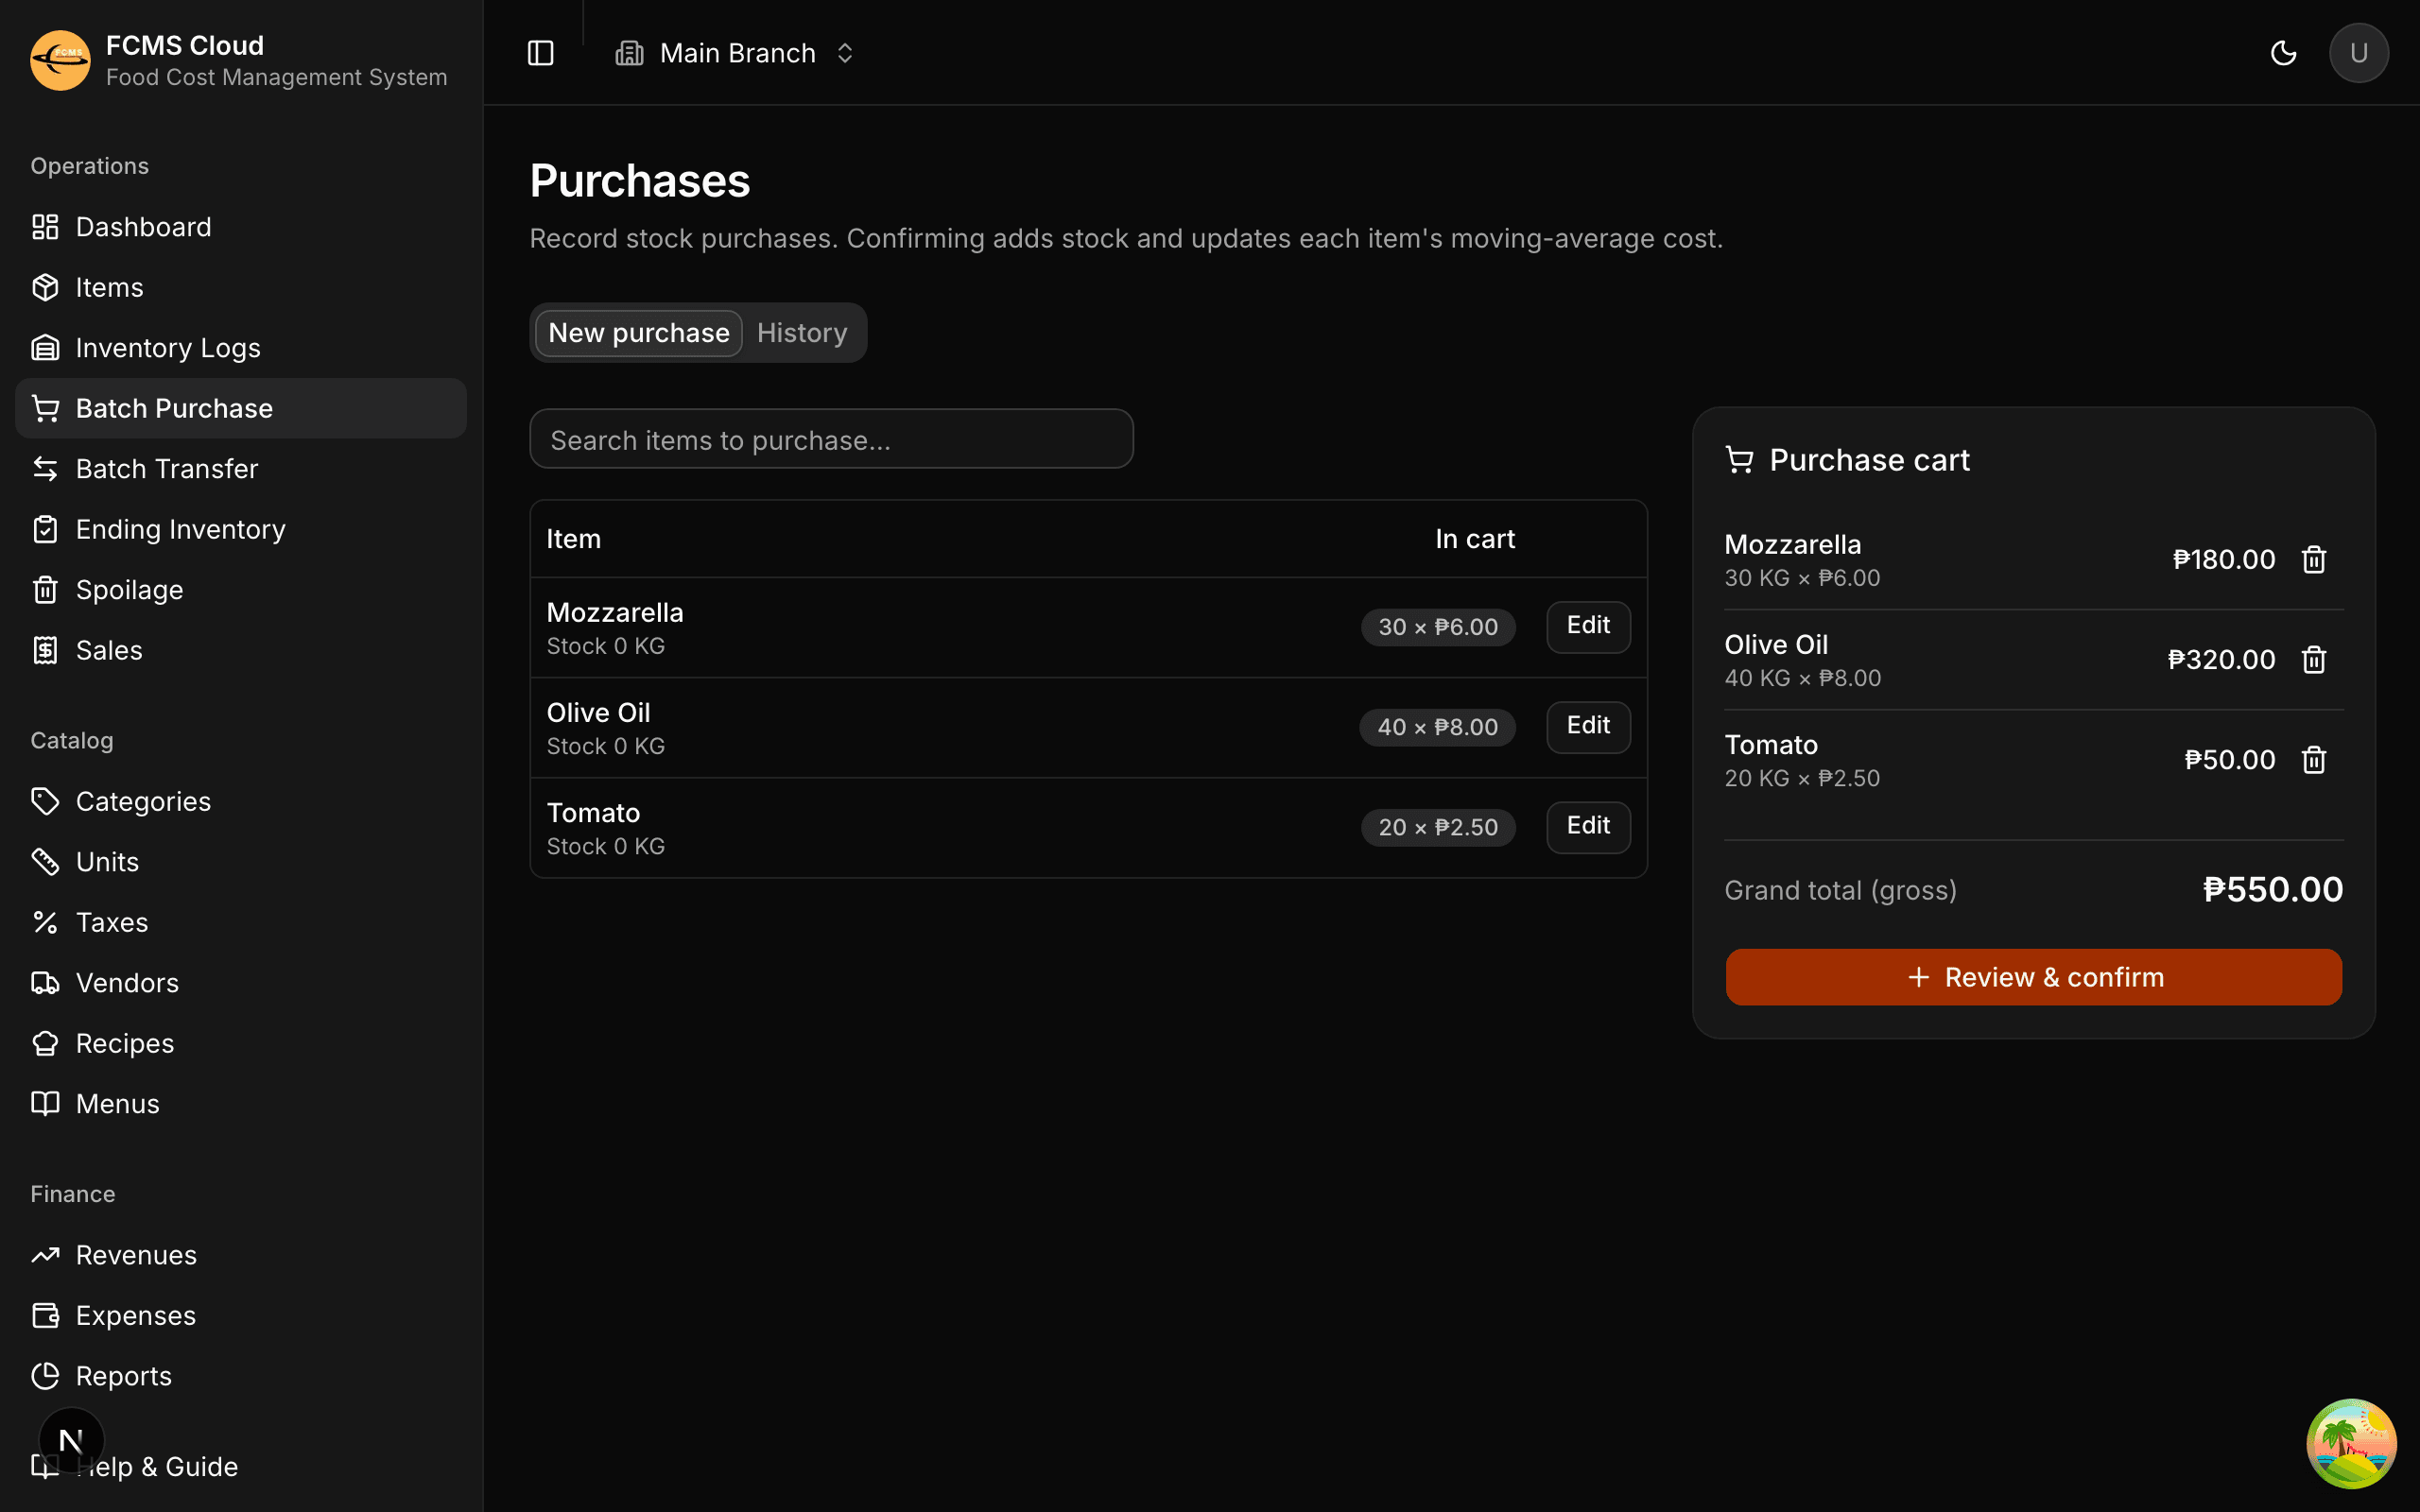
When you receive goods from a supplier, record a batch purchase. "Batch" means you add several items together and confirm them as one delivery.
Open Batch Purchase
Web: Batch Purchase in the sidebar. Mobile: the Batch Purchase button on the home screen.
Start a new purchase
Begin a new batch (or continue a saved draft).
Add each item
Choose the item, enter the quantity, the unit cost, and a tax if it applies. Repeat for everything on the delivery.
Review the totals
FCMS shows the net, tax, and gross totals for the whole batch.
Confirm
Confirming adds the stock and updates each item's average cost. Until you confirm, the batch is a draft you can edit or discard.
Tip
FCMS uses a weighted average cost: when you buy more at a different price, the item's cost blends old and new stock. This is what your food-cost reports are based on, so enter accurate unit costs.
Stock out — Stock Usage
Record stock consumed in operations — prep, samples, internal use — as stock usage, again as a batch.
Open Stock Usage
Add the items used, each with a quantity (and cost where prompted).
Confirm the batch
Confirming removes the stock and records it in each item's history.
Heads up
In the current release, Batch Stock Usage is temporarily hidden while it's reworked to avoid clashing with the ending-inventory count. For now, reconcile what's been used through the Ending Inventory count below. Sales already remove stock automatically.
Spoilage and Wastage
When stock is damaged, expired, or thrown away, record it here so it's removed from inventory and shows up in your waste reporting.
Open Spoilage
Web: Spoilage in the sidebar. Mobile: the Spoilage button on the home screen.
Choose the type
Pick Spoilage or Wastage. Use whichever label fits how your team thinks about the loss — for example Spoilage for food that went bad and Wastage for usable food that was thrown out (over-prep, trim, plate waste). The two behave identically; the type is a reporting label, and your waste report totals each one separately.
Record the loss
Pick the item, enter the quantity lost, the date, and a short reason or note.
Save
FCMS values the loss at the item's current average cost.
Does recording it reduce stock?
That depends on the Auto-deduct spoilages setting for the branch. You can change it from Settings → Inventory settings, or flip it right inside the Record dialog with the Auto-deduct from stock switch — the switch and the setting are the same branch-wide preference, so toggling it in the dialog also changes the default for every future entry in this branch (and stays in step with the mobile app).
- When it's on, saving a spoilage also writes a Stock Usage entry in the inventory logs and lowers the item's on-hand quantity right away. The Stock Usage log is linked to the spoilage — open the spoilage to edit or remove it (editing keeps the linked usage in step; deleting the spoilage restores the stock). Use this when spoilage is the only place you record the loss.
- When it's off (the default), the spoilage is recorded for your waste reporting and valued, but it does not change the on-hand quantity. You book the loss later through the Ending Inventory count, where setting the remaining stock already accounts for it. Use this when you reconcile by counting.
Forgot to turn auto-deduct on?
A loss recorded while auto-deduct was off is labelled Not auto-deducted. Deduct from stock takes it off the stock on hand now, writing the same Stock Usage log auto-deduct would have. On the web it's on the spoilage's detail page and on its row in the list; on mobile, open the spoilage's options and tap View Details.
The button is greyed out once that item's stock has already been set by hand — by an Ending Inventory count or a Manage Stock removal made on or after the loss. That count has most likely already taken the loss off the shelf, so deducting it again would remove the same stock twice. Hover the button to see which adjustment blocked it, and open it from there.
Heads up
Pick one method. Turning auto-deduct on while also reducing the same items through Ending Inventory counts the loss twice. Leave it off if your team reconciles by counting; turn it on if spoilage entries are your record of the loss.
Exporting the report
Export Report on the Spoilage screen (web and mobile) downloads an Excel
(.xlsx) file for a chosen month. The Spoilage and Wastage rows are listed
separately, each with its own subtotal, followed by an overall grand total —
every loss valued at the item's average cost. Exporting reports needs a licensed
plan.
Reading the inventory logs
The Inventory Logs screen lists every stock change across all items for the active branch, newest first: the date, item, operation, quantity (+ or −), and unit cost.
- Open an item from a log entry to see its full history in context.
- Void an entry to reverse a mistake. Voiding undoes the stock and cost effect of that entry; the original line stays visible (struck through) for the audit trail.
- Some entries are fixed from where they came from. An entry written by a spoilage, a batch purchase, or a batch transfer belongs to that record, so Void is disabled on it — delete the spoilage, or void the purchase or transfer, and every entry it wrote is reversed together.
Heads up
Voiding is the correct way to fix an error — it keeps an honest record. Don't try to "cancel out" a mistake with an opposite entry, which makes reports harder to read.
Ending Inventory — the physical count
At the end of a period (usually monthly) you count what's physically on the shelf and reconcile it against what FCMS expects. This is your ending inventory, and it's the single most important habit for accurate food cost.
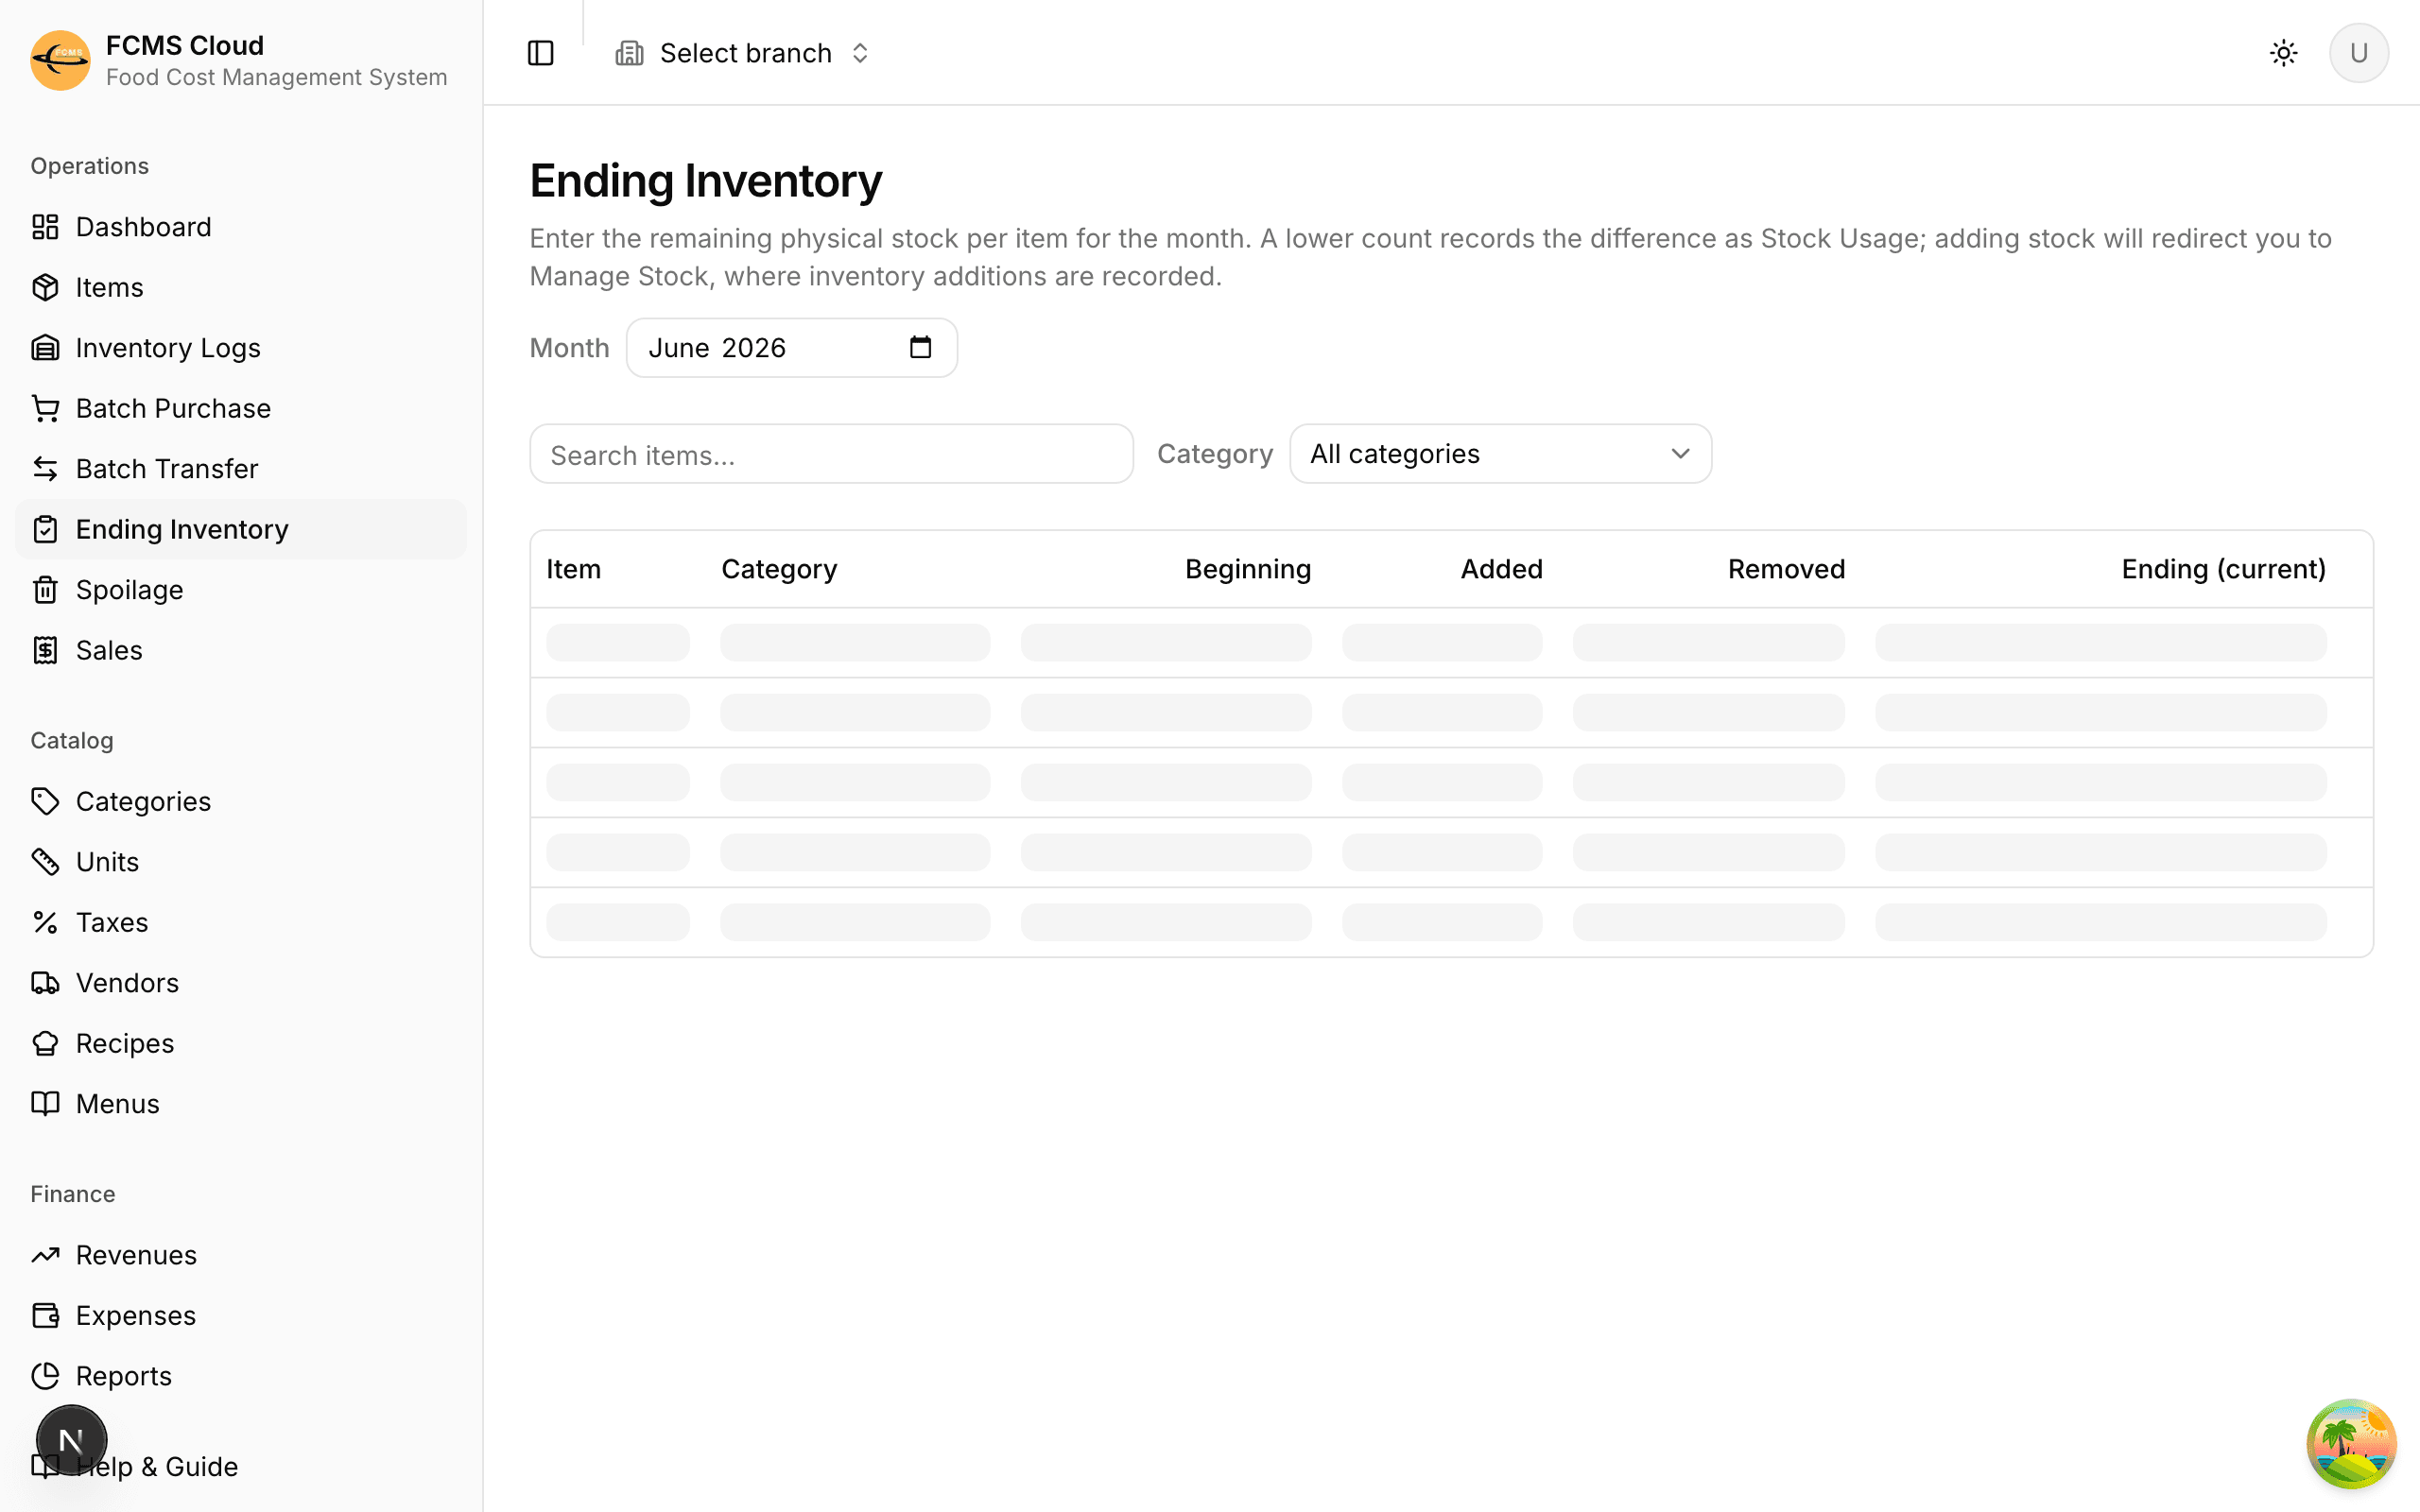
Open Ending Inventory and pick the month
Choose the month you're counting for.
Filter to a section
Narrow by category or search for an item so you can count area by area.
Enter what you counted
For each item, type the physical quantity on hand. FCMS shows the expected (calculated) quantity beside it and the variance — the difference.
Resolve variances
If you counted more than expected, FCMS can add the difference for you. If you counted less, review recent entries to see whether usage or spoilage went unrecorded.
Confirm the count
Confirming reconciles your records to the counted figures for that month.
Tip
Count consistently — same day each month, same person where possible. Reliable counts are what make your cost reports trustworthy.
Next: Branch transfers.